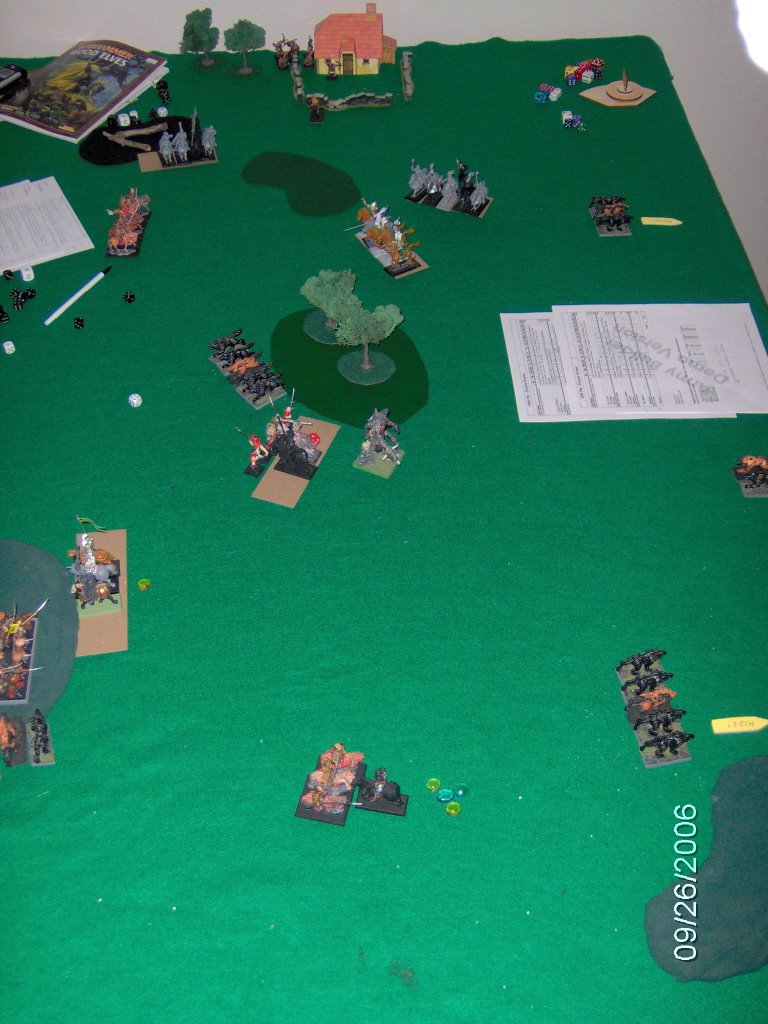
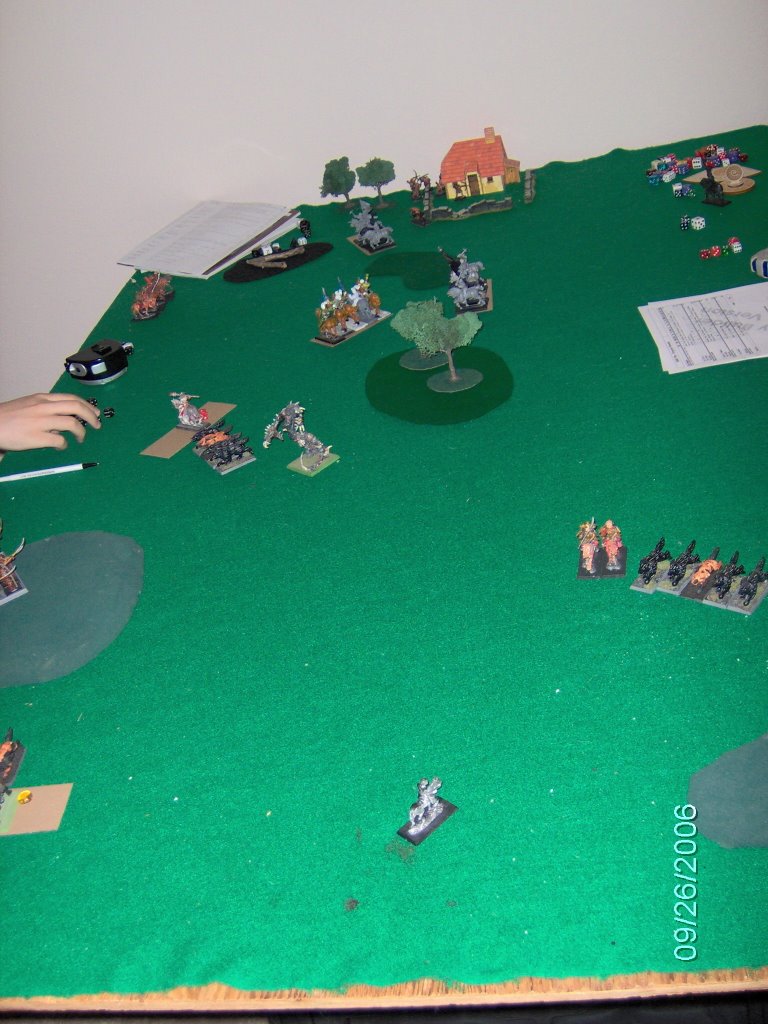
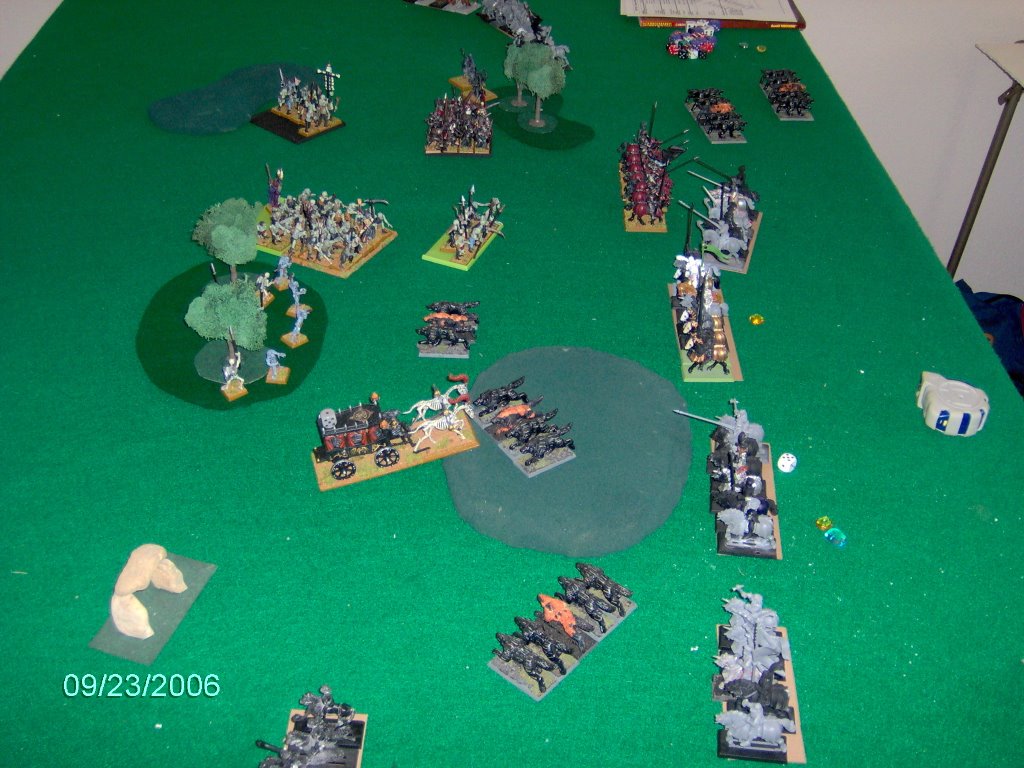
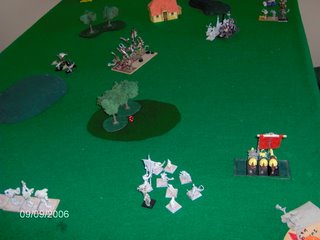
When we left off the Skaven beasty boys were looking in really bad shape.
As we start turn 3 it is chaos turn to put a major blow to the beasts.
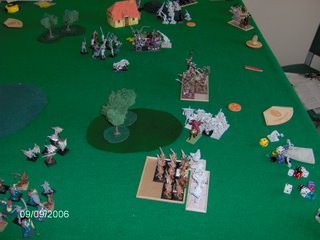
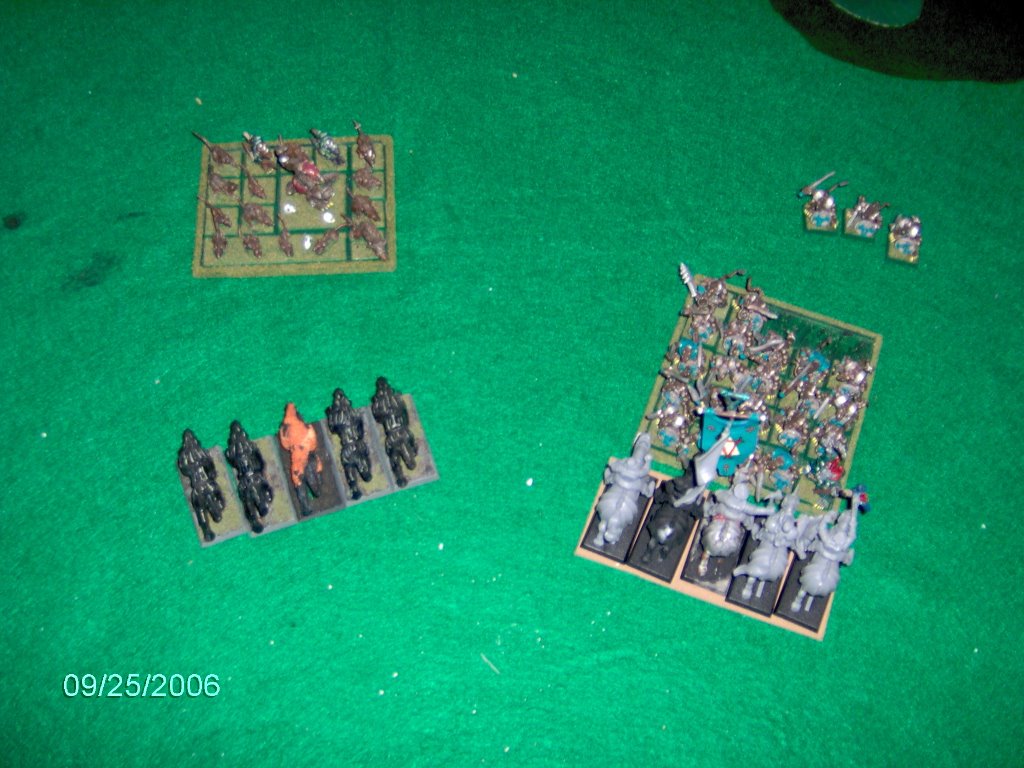
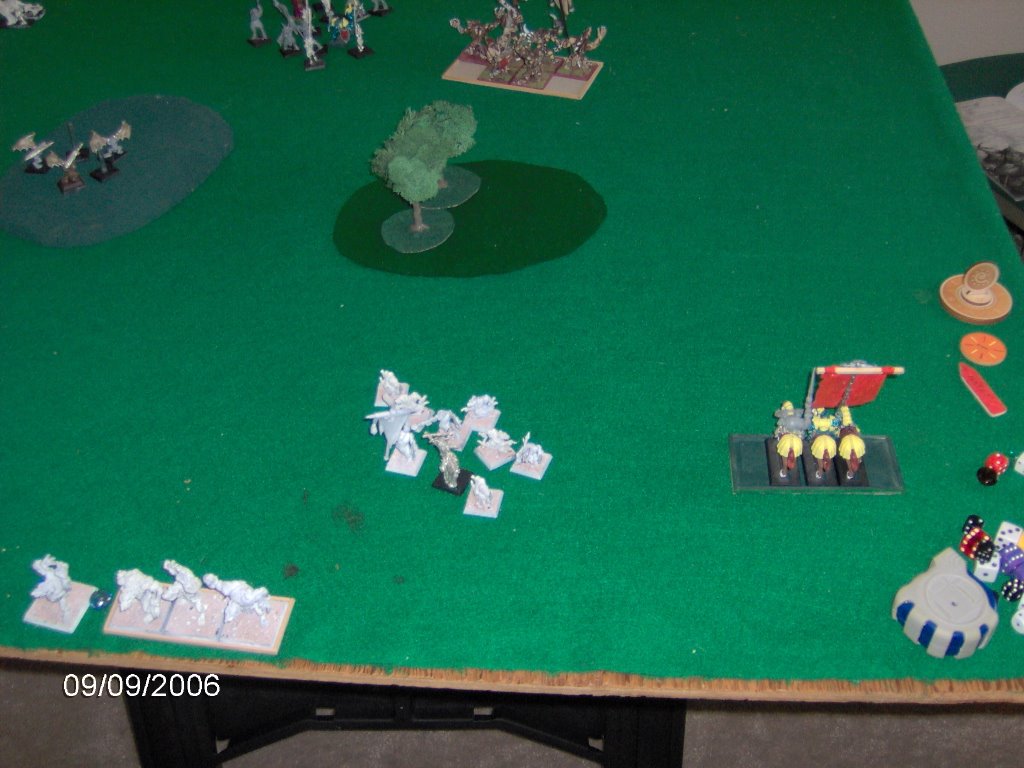
On the left flank the chosen knights charge into the unit of 3 Rat Ogres, do 5 wounds, break them and run them down. But not before I kill 2 of the chosen knights as well.
The Marauders made an ill advised charge into the unit of 4 Rat Ogres (minotaurs w/great weapons) With their 6 attacks they do no wounds and suffer 7 casualties in return. With the help of their general they stay.
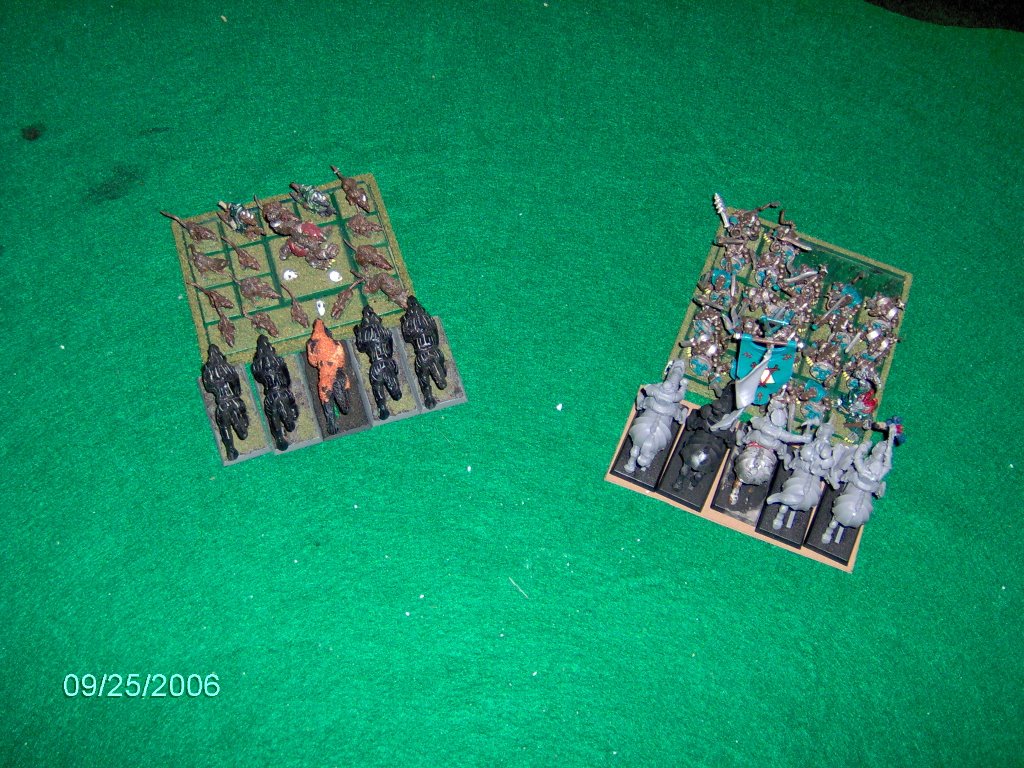
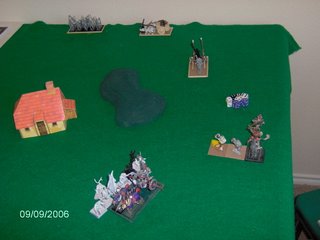
The general charges into the herd who now turns around to face him. But only going 4 wide I'm only +2 on him going in. With 5 attacks, I could look at some bad news. He challenges and the Foe Render steps to the plate to keep the Rending sword from doing more than 1 wound. In 7th ed, a multi-wound weapon can do no more wounds than a model has. He hits only 2 times and wounds only once. His horse whiffs. So he kills the Foe Render, but loses combat by 1. He stays.
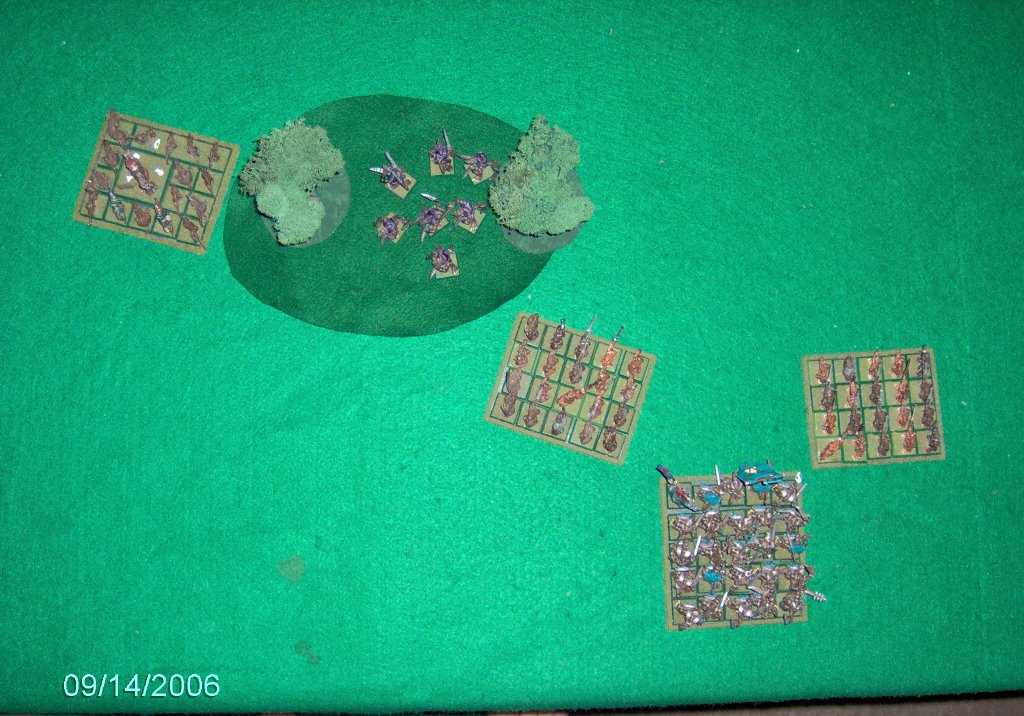
The beastherd rallies.
The hounds kill off the spawn in the middle of the field.
And the chariots kill off all but 1 Rat Ogre. He does 2 wounds back, so one chariot has 3 wounds on him. Needing a 6 not to break. He rolls the 6.
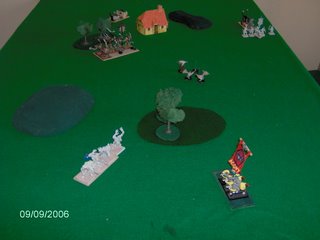
On the far right flank:
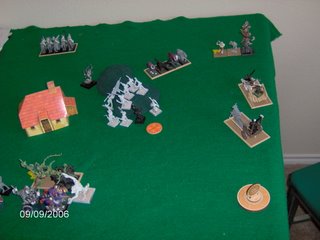
The spawn moves towards the herd but fails to make it.
The steeds of slaanesh charge the chariot on my left, the one with the Kangaroo rat. I hold, and he is less than 1/2" out and so its a failed charge.
The fleeing fast cav, fail to rally so turn and head towards the table edge.
And finally the Dragon Ogres come back on and wheel around to face the chariots.
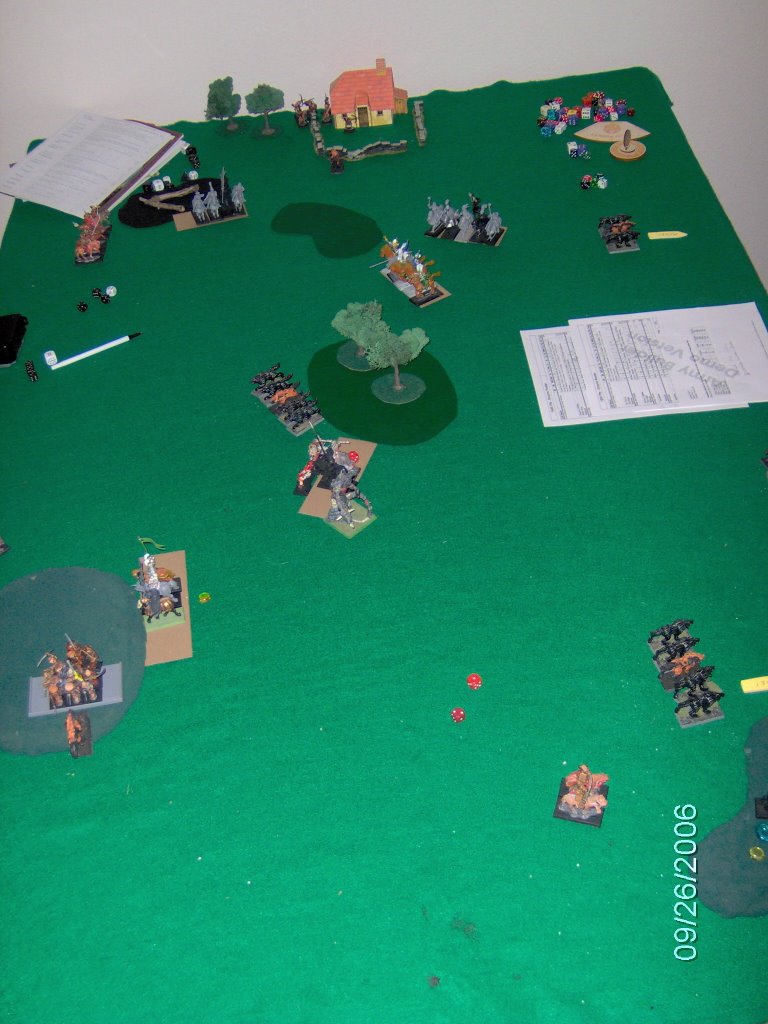
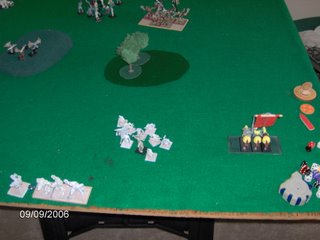
Now its my turn 3.
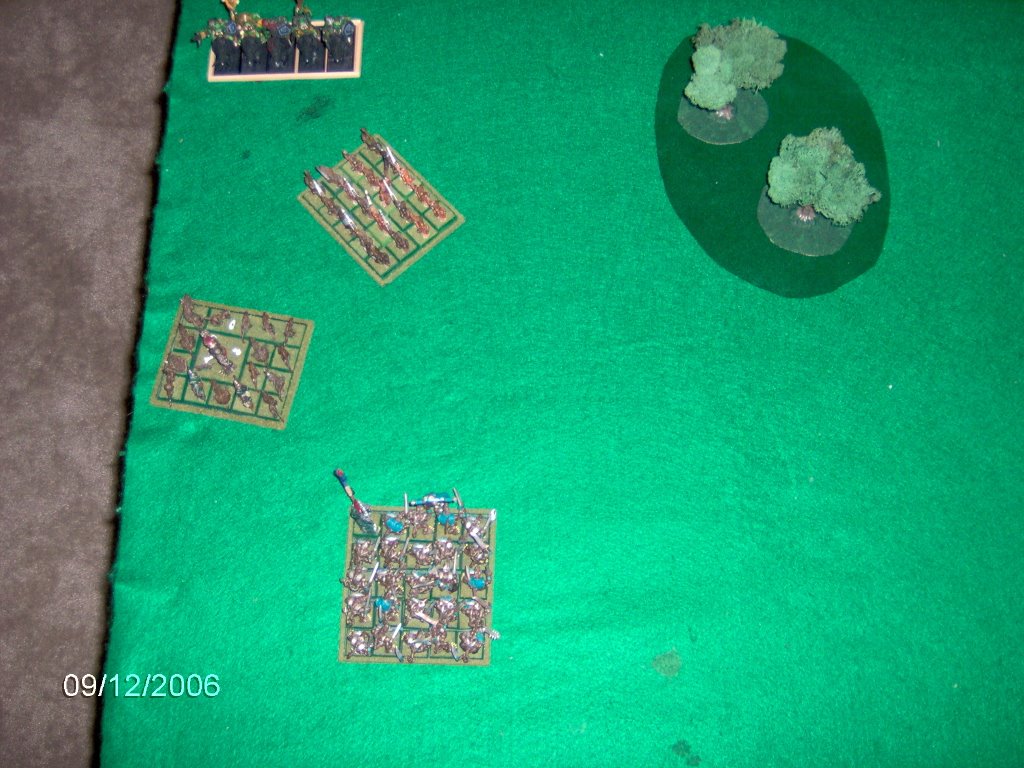
On the Left flank:

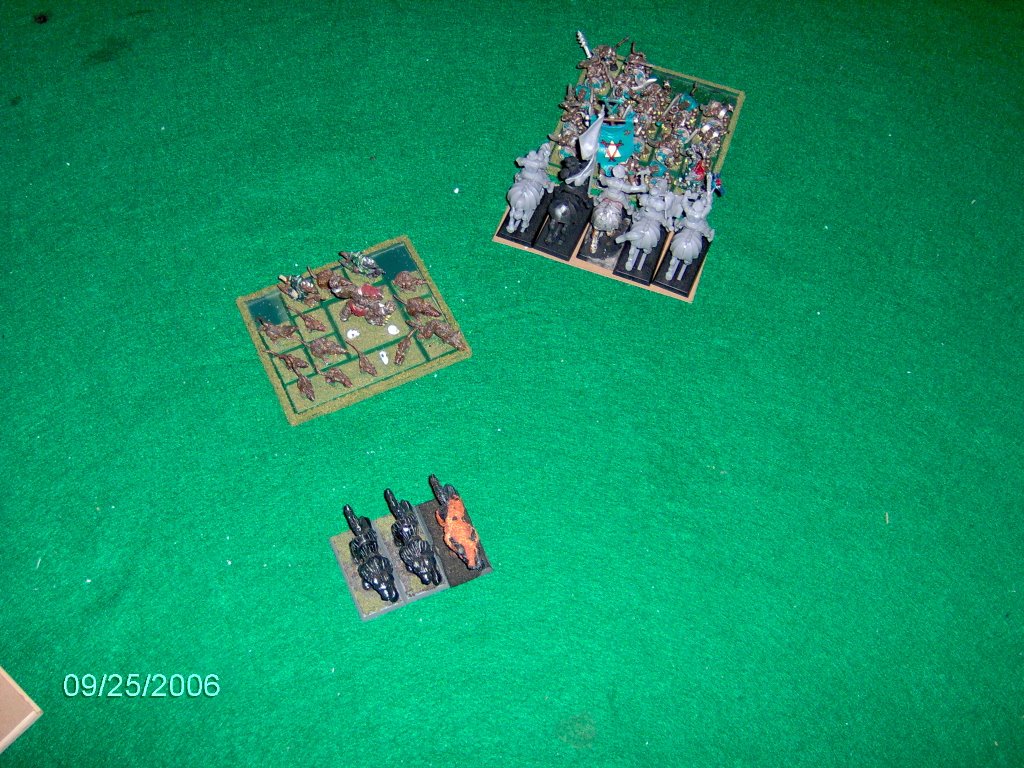
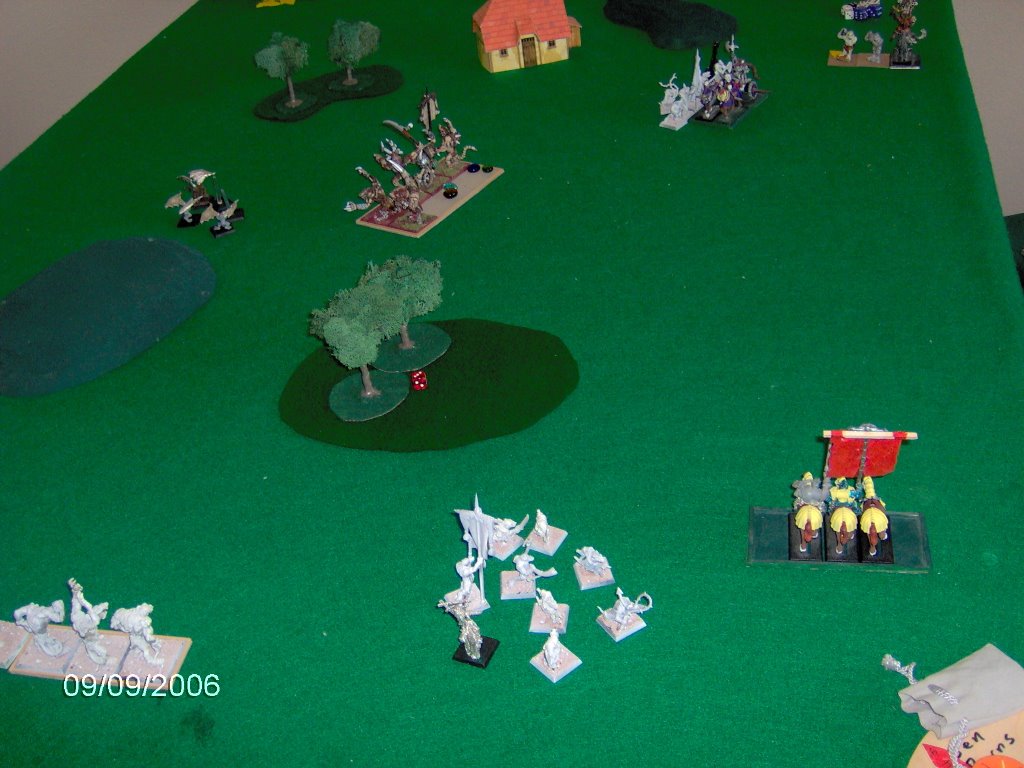
The Rat Ogres kill a lot more marauders before breaking them and running them down. The 3d6 pursuit from blood greed is very nice.
The Chaos lord issues another challenge, but knowing he stands no chance the Master Moulder (Wargor) steps to the rear. This turned out to be another good move as the Chaos Lord does 2 wounds, and I win with the musician. He holds again.
Ratspawn and guard charge the 2 chaos hounds that killed my spawn and they flee. Hoping to run into the herd, we were 1/2" short. Uggghhh!!
The chariots wipe out the last Rat Ogre in combat with them.
The furies fly away from the beast herd.
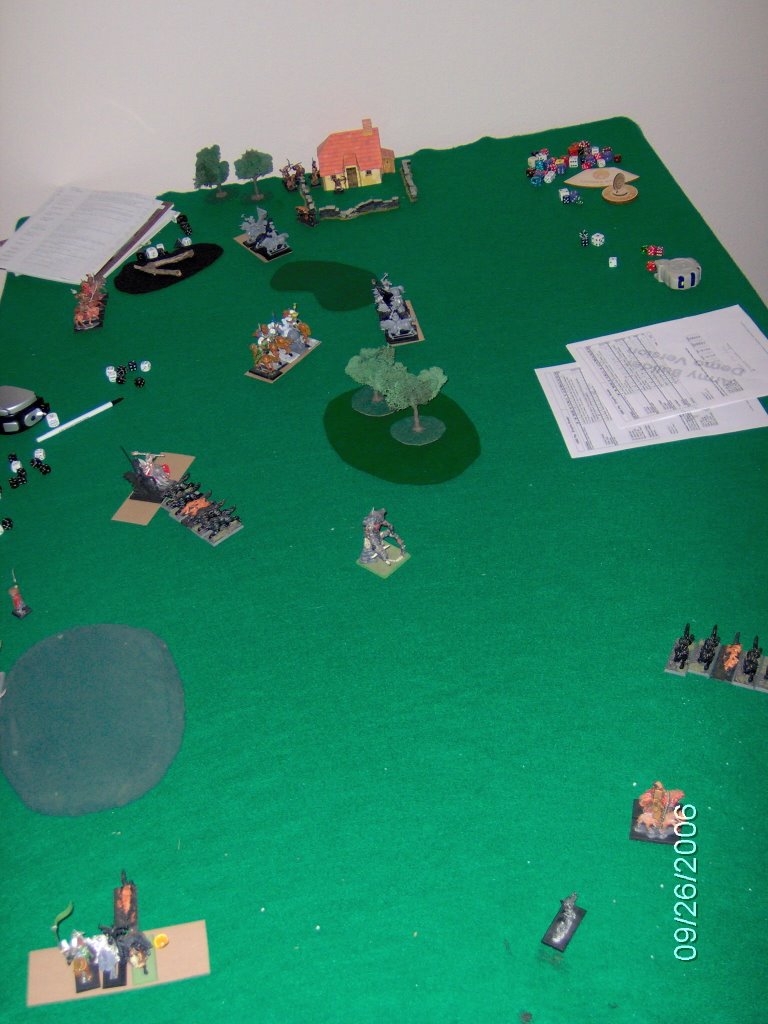
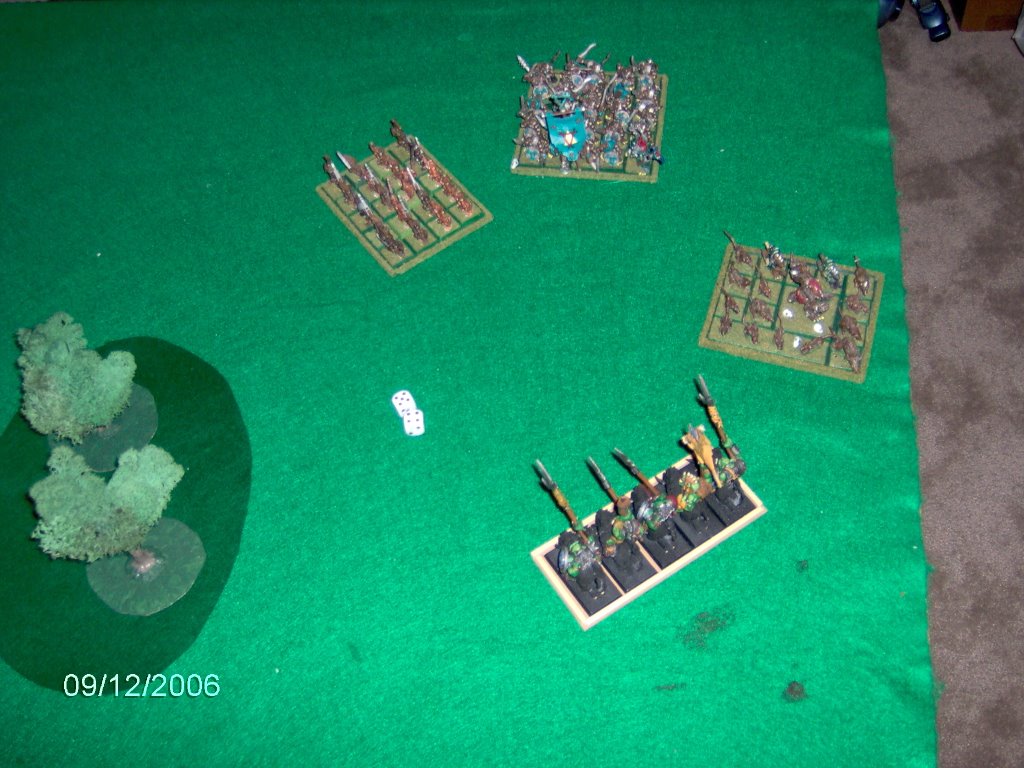
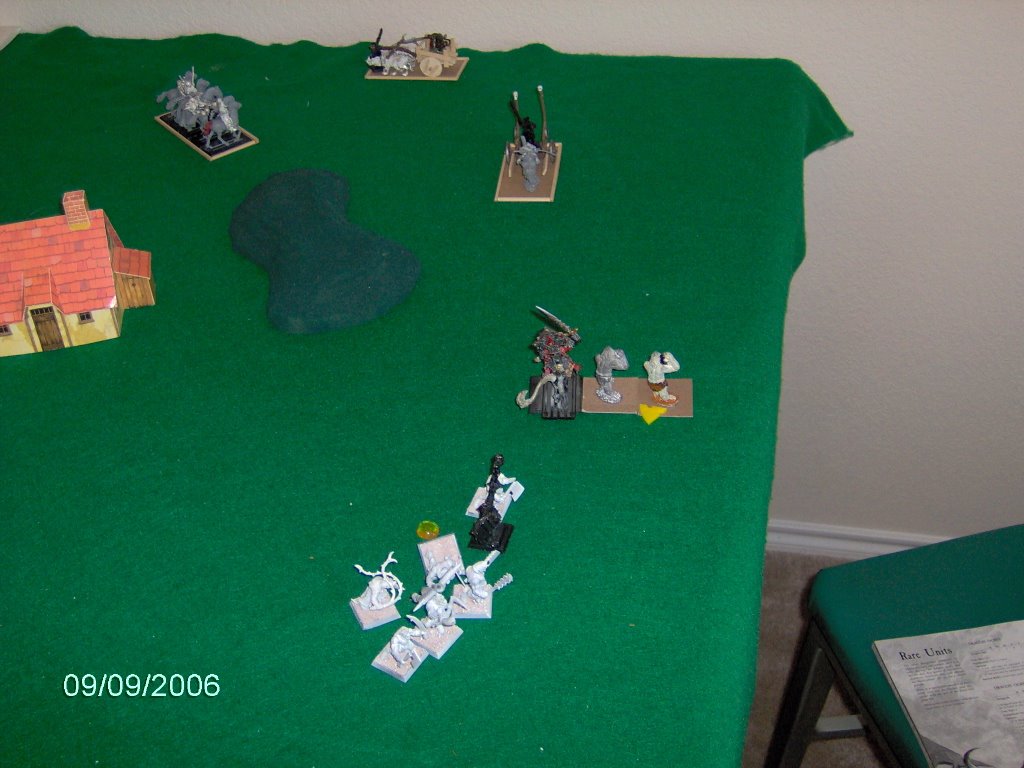
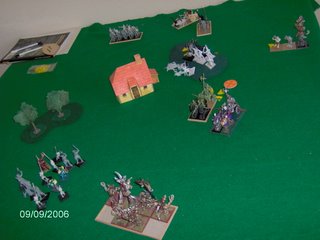
Over on the Right flank:

The beastherd wanted to charge the chariots but went unruly and were forced to charge the Daemonettes, then failed their fear test so were just stuck. But both chariots made their fear tests and plowed through the daemonettes killing all 5 with impact hits before even those fast tongues could lash out and do any harm.
It was now the Chaos scums turn. I forgot to take a picture at the end of this turn, but not a lot happened here.
His chosen knights moved back on the board.
The beastherd moved tried to move out of the charge arc of the unit of 4 Rat Ogres and being march blocked couldn't do it.
The 2 chariots moved closer to my side and spun to face Ratspawns unit.
The hounds failed to rally and ran off the board.
The spawn charges into the beastherd. I do 1 wound to it, it kills a gor.
The Dragon Ogres move closer to the middle of the board.
The fast cav rally and reform just out of the chariots charge arc.
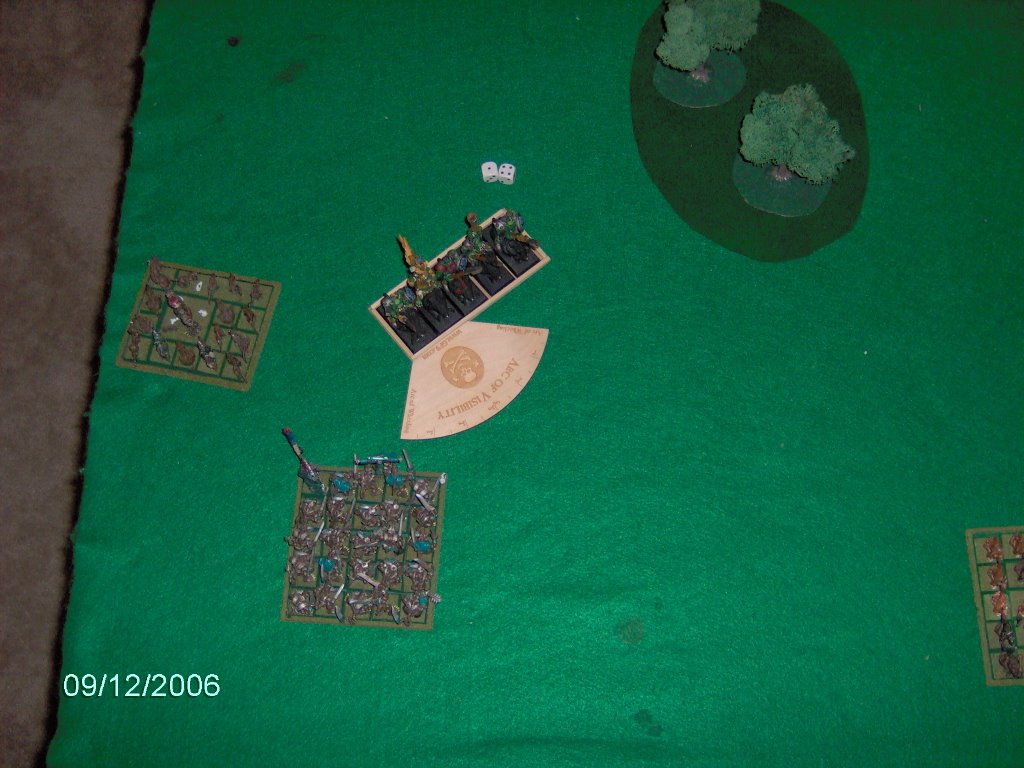
But the biggest battle was the Chaos Lord vs my herd. The Chaos Lord challenges again, and again the wargor excuses himself to the rear (boo, hiss!!) Meanwhile the chaos lord, whiffs again doing only 2 wounds. This is all needing 3+ to hit and 3+ to wound with 5 attacks. He loses by 1 again. A 10 on the break dice and he is heading for the showers with my beastherd quickly on his heels.
So all of the sudden the game is turning around. But it is still anyones game.
On the left flank, the 4 Rat Ogres charge the beastherd, kill a whole bunch and only take a wound or 2 in return and chase them off the board.
The beastherd charges the fleeing Chaos Lord who runs 15" and off the board. Wow, if he only runs 9-11" he gets away and has a chance to rally. Thems the breaks sometime.
But my general is in no better shape. With 2 chariots on my flank and a beastherd to the front I have to make a decision. If I charge the herd, he will flee and leave my flank to the 2 chariots. I need a lot of attacks on the chariots to destroy them. And I need that Hellfire sword on the chariots.
So I take a risk and turn my unit to leave the flank to the herd and face the chariots head on. The hope is the herd fails its Ld 7 fear test. I don't expect the chariots to.
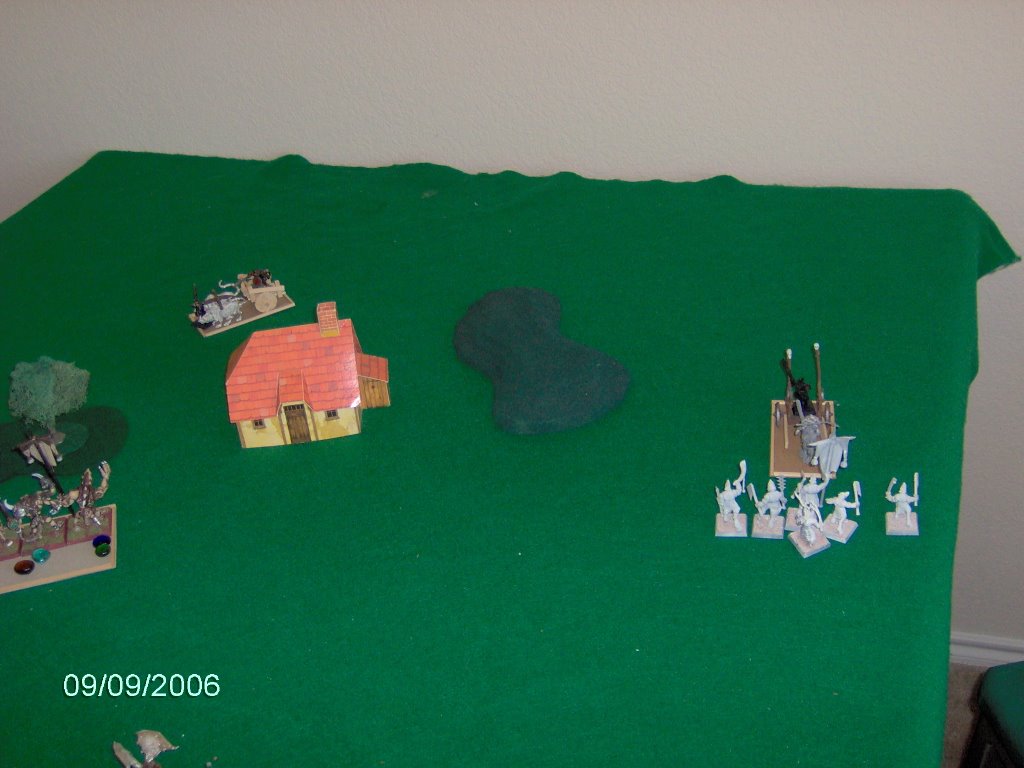
Over on the right flank:
The beastherd and spawn continue to fight and I put another wound on the spawn. His spawn goes for Setrad my bray shaman but only does 1 wound. The chariots spin around.
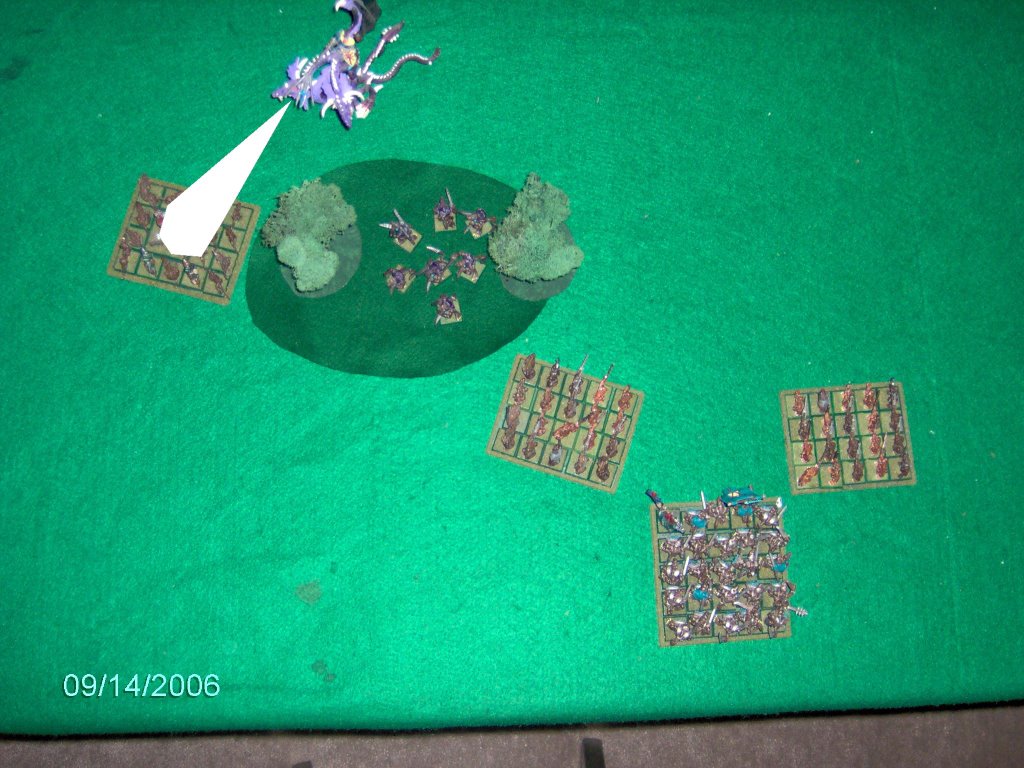
Now it is the beginning of turn 5. IT is do or die time and the game hinges on this main charge.
Both chariots and the herd into Ratspawns unit. This is it.
The beast herd makes its fear test and charge. Ugghhh!!!
Chariot 1 (with 3 wounds) fails its fear test but re-rolls and makes it. Uggghhh!!!
Chariot 2 fails its fear test but re-rolls and FAILS again!!!
The chariot does only 2 impact hits and with all its attacks does only 2 wounds. The herd adds on 3 more. so kills 1 rat ogre and does 2 wounds to another.
I do the last wound to the chariot. And the Rat Ogre on the flank hits all 3 times and wounds 3 times.
So we add it up:
Me: 4 wounds, +1 for standard + 1US = 6.
Him: 5 wounds, +1 flank, +1 standard, +1 rank = 8.
So needing a 9-2 = 7 not to break. I roll a '7'!!! Wow!!! That was the game.
The rest of his turn he moved his Dragon Ogres up and his choas knights up.
He moved the fast cav back out of charge arc again. The spawn was killed.
My turn 5:
At this point I know I have the game. Taking that test was huge.
Using the new rules I move Ratspawn and the champion into the 2 flanking spots so he can't kill off the Rat Ogre with 2 wounds. The furies charge into the flank of the beastherd. But I kill them down to just 2-3 guys and run them down.
My herd on the left flank moves up to threaten the 3 chosen knights.
Over on the right flank:
The beastherd having just finished off the spawn charges into the chariot that had failed its fear test to charge. I take a couple of wounds, but win combat. He holds.
I move the chariots around to try and line up some turn 6 charges.
Turn 6:

The game is over and my son knows it.
He turns his knights to face the herd.
He turns his Dragon Ogres to face the chariot.
In the herd-chariot combat he takes a wound on the chariot.
It breaks and runs off the table.
The herd pursues and stops behind the dragon Ogres.

Botton of 6. The Finally!!
In a final attempt to clean off the board.
The herd on the left flank charge the chosen knights. Whiff badly, are chopped down for their efforts and are run down.
The Rat Ogres turn around to face off the Chosen knights.
Ratspawn and his guard move up 12 to take the far right quarter.
While the 5 furies fly back to my lower left quarter to contest that in case the battle with the chosen goes bad, which it did.
Over on the right flank:

The chariot charges the fast cav and wipes them out to a man.
The chariot and herd charge the dragon Ogres. They combine to do 7 wounds leaving a single wound on 1 dragon Ogre. He puts 2 attacks on the chariot in an attempt to smash it and 1 on Setrad. He fails to hit the chariot but slays Setrad the Bray Shaman in one final act of defiance, before he is broken and run down. I didn't move the pursueing units.
That was the game, the only thing left on the board for him was the 3 chosen knights. We didn't add up victory points but even with the losses I took in units, 2 heroes and the one banner. I still won with a pretty comfortable margin.
I hope you enjoyed the battle report and let me know what you think.
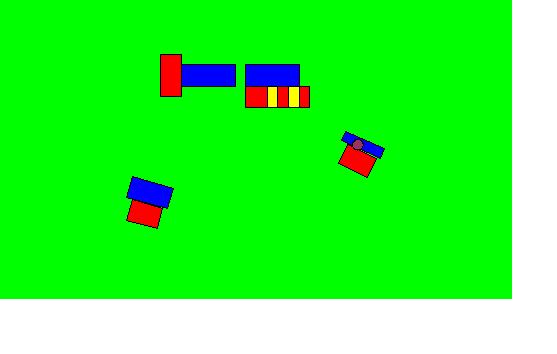
Is this worth it. Do you like the pictures? Would it be better to do 1 overhead shot that is smaller?
Thanks, Ben